Posted on Leave a comment

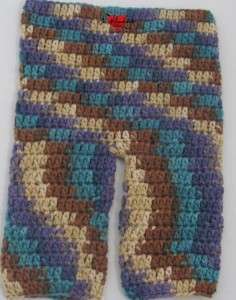
Crochet Baby Pants Pattern


Crochet Baby Pants

© Jessica N. King-Cason

crochet baby pants( 0-3 months)

My pattern/s may not be redistributed or copied in any way. Of course you can sell your finish product; I just ask that you give me credit as the designer of the pattern/s. If someone want the pattern/s just send them to my Website or Ravelry page so they can receive the pattern/s. Thanks so much for understanding.

Contact me if you have any problems:

 https://www.facebook.com/JessHandmadeDesigns

www.JessHandmadeDesigns.com

http://www.ravelry.com/people/Jesshandmade

Crochet Hook Size G

Red Heart Super Saver (4ply Yarn)

Stitch Marker

Tapestry Needle

Stitches use in this pattern:

Chain- Ch

DC- Double Crochet

Half Double Crochet- Hdc

Top:

Ch 62 join with a slip stitch

Round 1: Chain 3 (Count as your 1st dc)

dc all the way around (do not join, work in a continuous round.)

Round 2-10: dc in each stitch around

Do not Fasten off

Leg Part:

Round 11: dc in the next 31 stitches, join at the 1st dc

Round 12-20: ch3, dc in each stitch around (Join) 31 stitches

Round 21: dc in each stitch (join) 31 stitches

Round 22: ch2, hdc in each stitch (join & fasten off)

Attach your yarn in the middle of the pants. Ch3 and Repeat from Round 11-22 to make the other side. 

Peace, Love and Happy Crocheting!

Posted on Leave a comment

Crochet Goal of the Year

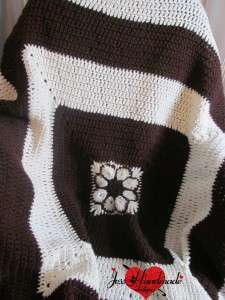
Okay some of you know that I dislike making blankets. I love crocheting items that are quick and less than 3 hours to make. However, I’m trying to be more patient and my goal is to make 5 Blankets before this year ends. So Far, I’ve done one blanket and I have 2 on the hook and one I will start next weekend. So here’s the one I’ve made for myself!

IMG_2980

Peace, Love and Happy Crocheting!

Posted on 1 Comment

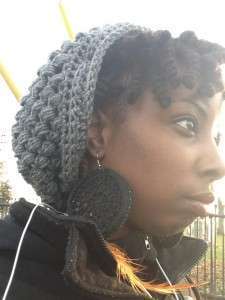
Crochet Puff Stitch Tam (Crochet Pattern)

Crochet Puff Stitch Tam

By: Jessica N. King-Cason owner at Jess Handmade Designs

My pattern/s may not be redistributed or copied in any way. Of course you can sell your finish product; I just ask that you give me credit as the designer of the pattern/s. If someone want the pattern/s just send them to my Website or Ravelry page so they can receive the pattern/s. Thanks so much for understanding.

Contact me if you have any problems:

 https://www.facebook.com/JessHandmadeDesigns

www.JessHandmadeDesigns.com

http://www.ravelry.com/people/Jesshandmade

What you’ll need:

J crochet hook

Tapestry needle

Elastic (optional)

Stitch marker

1-2 skein of 4ply Worst Weight yarn   (depending on the brand of yarn)

Stitches use in this pattern:

Chain- Ch

SC- Single Crochet

Half Double Crochet- Hdc

Back Loops Only- BLO


The Puff stitch Tam is work from Bottom to Top

Ch 74 (Join do not twist)

Round 1- Ch2 Hdc in each stitch (Do not join. Work in the continuous round and use a stitch marker to keep track of your rounds.)

Round 2-4– Hdc in the blo (back loops only)

When you reach the end of row 4 join

Round 5- Chain 3, Puff stitch, ch 1 in the next hdc, *skip the next hdc, puff stitch in the next stitch, ch 1* repeat all the way around do not join

Round 6- 21- Puff stitch in the ch3 space ch 1 *skip puff stitch, puff stitch in the ch 1 space, ch 1* repeat all the way around until you reach round 20

To Close the Tam-  Sc 2 together until there’s no more room to decrease draw up a loop cut and weave all ends

To Add Elastic to your Tam (this is optional) Measure around your head cut and double knot the elastic. Attach yarn to the bottom of your Tam while hold the elastic, ch 2 Hdc in each stitch all the way around, join draw up a loop, cut weave ends.

Peace, Love and Happy Crocheting!


© Jessica N. King-Cason

Posted on Leave a comment

Pattern Review

This is my first time doing a pattern review. I wanted to start buying one or two crochet pattern a month and review them on here to share with whoever is reading this blog lol. And I will grade the patterns base on price, how easy it was to read the pattern and so on and so on. So let me get started on the review.

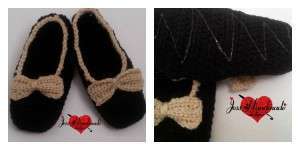
I wanted to do a pattern review on these crochet slippers.

The pattern is By EVASSTUDIO the Pattern can be found here. However,  the second pair I crocheted, I added a bow and made them non slip slippers by adding fabric glue on the bottom.

The price was very reasonable. The pattern was very easy to follow. I was done making both pairs of slippers within 2 1/2 Hours. I love it! The pattern is a pdf file and I will be making more and buying more patterns from her very soon. This Pattern gets an A!


Peace, Love and Happy Crocheting! God Bless!

Posted on Leave a comment

Christmas is coming!

Christmas is right around the corner and I’m working on a few stuff to have ready for last minute shoppers lol. I know it’s August and I’m waaaaaaaaay ahead but I’m not the only one! I seen a couple of stores getting ready for fall and it’s still summer time. So all of my family members are getting something handmade from me 🙂 Some of them already put their request in 🙂 But anyway here’s one of the items I will be making a bunch of because 1. A lot of people have a Ipad, Tablet or Kindle Device!

2. It makes a great gift!


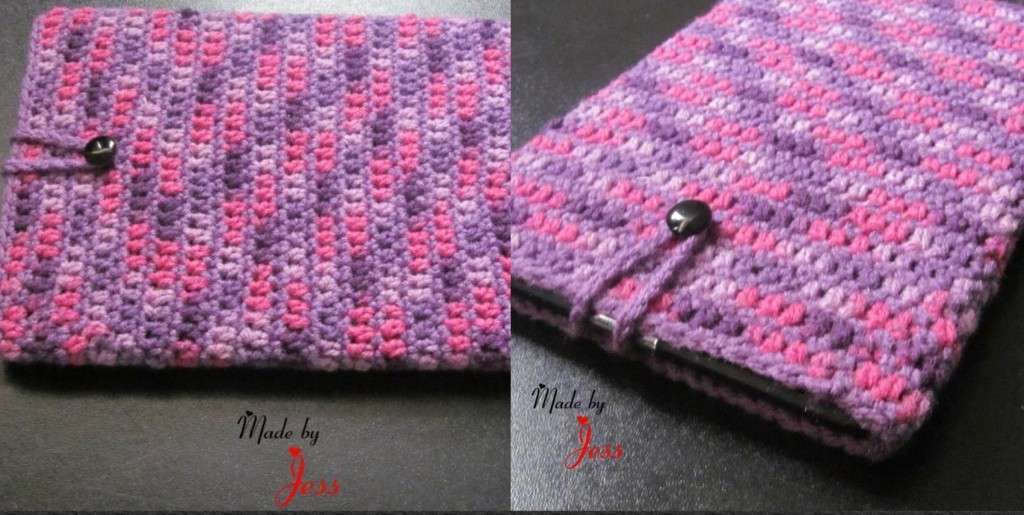
It’s a Tablet Cover or some call it a Tablet Cozy!

You like? I made this one for my Tablet and it fits perfectly! I will make more in different sizes. So to all the crocheters that is looking for something to make for your online shop or for craft fairs be sure to add tablet cozies!

Thanks for stopping by my page 🙂

Peace, Love and Happy Crocheting!

Posted on 1 Comment

I Heart Granny Squares!

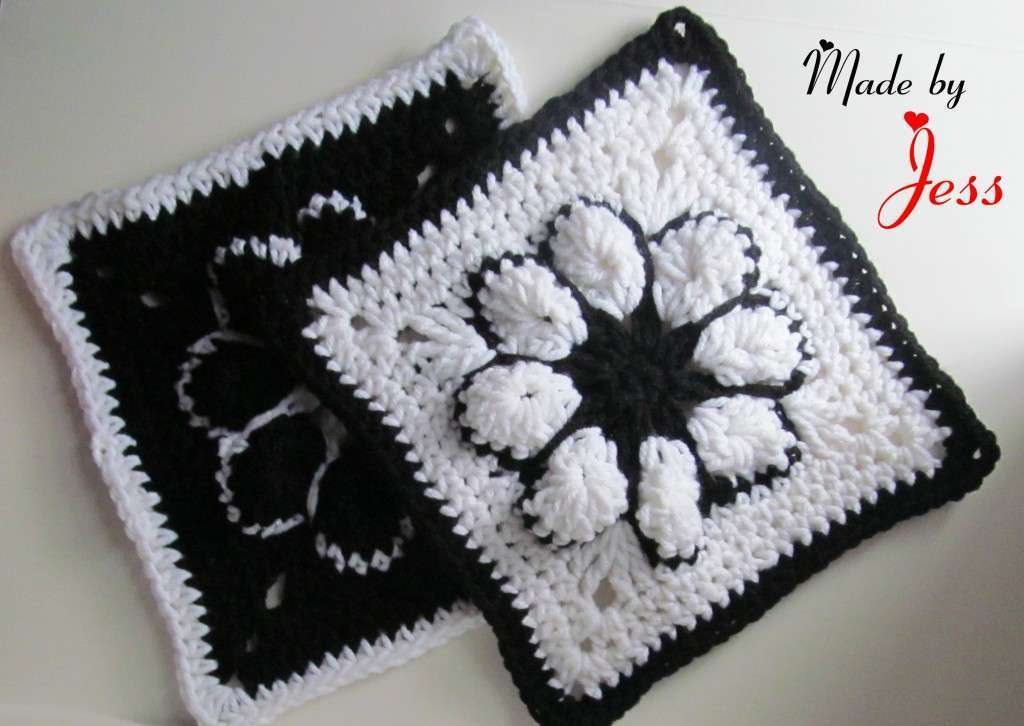
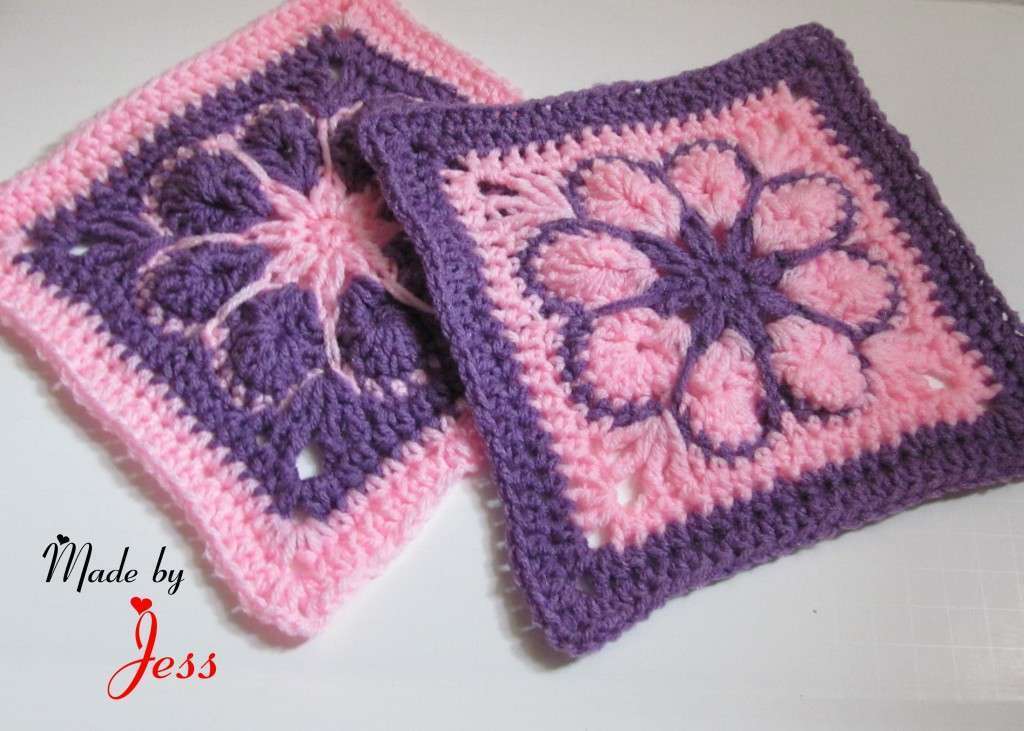
I heart Granny Squares! There I said it! LOL Me and my Fresh Off tha Hook Family members are working on Granny Squares. I’m not a huge fan of making Granny Squares. But, I’m a huge fan of looking at Granny Squares that other people made! 🙂

Want to see my Squares? Okay here they are:

I just love them! I think I will make more in the pink and med purple because they are both some of my favorite colors. We’ll see how that goes!


So I’m going to try and Blog on here more often because I’ve be crocheting alot!

Peace, Love and Happy Crocheting!

Posted on 2 Comments

The Dee-Vah Crochet Multi Hair-Wrap Pattern

This is a two piece set and you can wear this wrap in many ways! You can wear it as a wrap, turban, or just a hair tube or a cute neck warmer!

What you will need:

4ply Yarn (3 choices or if you are sticking to one color that’s fine too)

(I )Crochet Hook

Crochet needle to weave the ends

Scissors

Pattern Step 1 of 2:

Working from head to back

Color A: Chain: 65 (wrap the chain around your head to make sure it can go around your head, you can use a measuring tape to measure the chain to get the right fitting)

Join and try not to twist the chain (Now go to Row 1)

However if you think you will twist the chain then  sc in the second chain from the hook, sc in each stitch then join and ch 1


Row 1: SC in the second ch from the hook,  SC in each stitch

Row 2-4: SC in each stitch

Row 5: Chain 5 (Count as your first double crochet chain 2), *skip 2 stitches, dc ch2 in the next stitch*,  *REPEAT ALL THE WAY AROUND*


Row 6-9: Repeat Row 5

Attach Color: B

ROW 10-14: Repeat Row 5

Attach Color C

 ROW 15-19: Repeat Row 5

Attach Color A

Row 20-24: Repeat row 5 and at the end ch 1 draw up a tail cut and weave all ends.


 Pattern Step 2 of 2

(The long strip that you will use to wrap the bun or create a different style) you can make on or two in the picture above I only used one for the bun and you can make another one for the front.


Make One or Two

Color A: Chain 260

Row 1: HDC in the third chain from the hook, HDC in each stitch

Attach Color B

Row 2: Ch 2, HDC in each stitch

Attach Color C

Row 3: Ch 2, HDC in each stitch

Ch1 draw up a tail cut and weave all ends


How to get the bun effect

Step 1: Put your hair into a bun (up or down)

Step 2: Put the hair tube on (you will notice the bun will be cover and you have some of the tube hanging)

Step 3: Hold you strip in one hand and fold the rest of the tube behind your bun with your other hand, wrap and tie the strip around the bun)

If you made another strip wrap it in the front

Have fun and create different styles!


Peace, Love and Happy Crocheting!

© Jessica N. King-Cason
 

Posted on 3 Comments

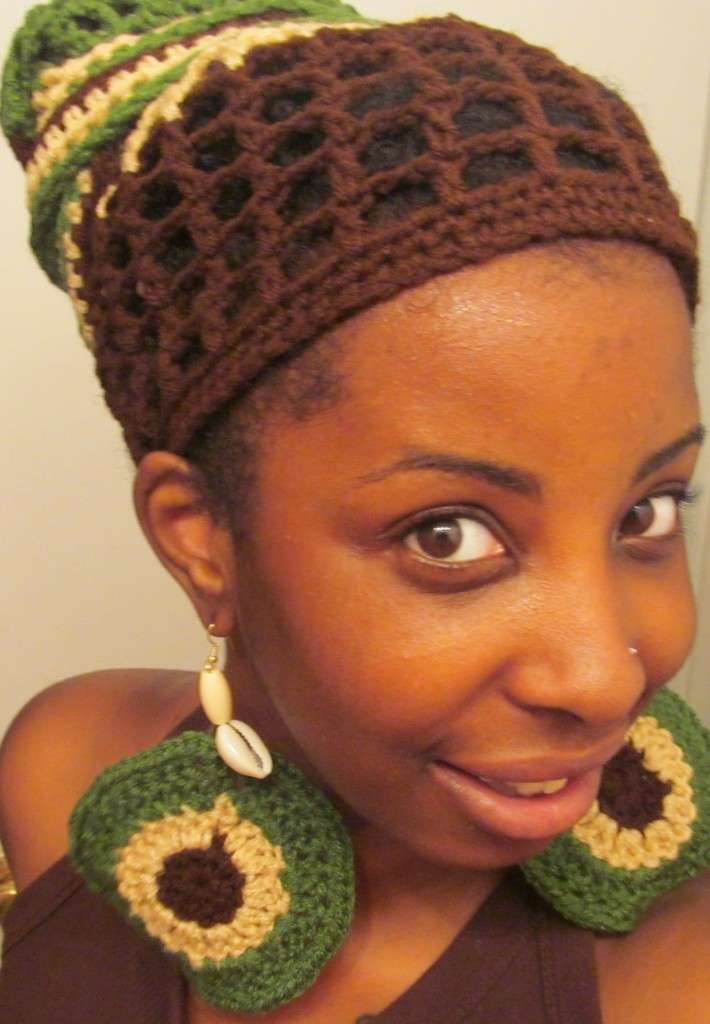
Crochet Slouchy Mesh Tam (Pattern)

The flower is not included because I got that pattern from a book.


What’ll you need:

J Hook

4ply yarn

Tapestry Needle

Scissors

Elastic (optional)


The Stitches you would need to know:

Magic Circle: MC

Chain: CH

Single Crochet: SC

Double Crochet: DC

Half Double Crochet: HDC

Slip Stitch: Sl St

Okay Now Let’s get started


Row 1: Start by doing a MC, Ch1, 10 DC inside the MC

Join, Ch 3

Row 2: DC in the chain 3 space, 2 Double Crochet in each stitch

Join, Ch 3

Row 3: DC in the chain 3 space, * 1 Double Crochet in the next stitch, 2 Double Crochet in the next stitch* *Repeat* all the way around

Join, Ch3

Row 4: Double crochet in the next stitch, 2 in the next stitch, *1 double crochet in the next two stitches, 2 in the next stitch* *Repeat* all the way around

Join, Ch3

Row 5: Double crochet in the next stitch, 2 in the next stitch, *1 double crochet in the next two stitches, 2 in the next stitch* *Repeat* all the way around

Join, Ch 5

Row 6: Double Crochet in the next stitch,* Ch2, Double Crochet in the next stitch, Ch 2, Double Crochet in the next stitch* *Repeat all the way around*

Ch 5

Row 7-13:  Repeat Row 6

At the end of Row 13 Join and Ch 2

Row 14: HDC in each Double crochet and HDC in the Ch 2 space

Join, Ch 2


Decrease Rows

Row 15: HDC in the next 4 stitches, HDC 2 together, *HDC in the next 5 stitches, HDC 2 together* *Repeat*all the way around

Join Ch2

Row 16: HDC in the next stitch, HDC 2 together, *HDC in the next 2 stitches, HDC 2 Together*

*Repeat*all the way around

Join Ch1

Row 17: SC 2 together, *SC in the next 2 stitches, SC 2 together* *Repeat all the way around*

Join ch1

Row 18-20: SC in each stitch all the way around

Join ch 1

at the end of Row 20

Join ch 1 draw up a loop cut and weave all ends

Peace, Love and Happy Crocheting!


© Jessica N. King-Cason
Posted on 2 Comments

New Layout New Cards :)

Hey Loves! I know it’s been a while since I blogged :/ but I’ve been doing Good. I’m now  apart of Fresh Off tha Hook!! Check my Fresh Off tha Hook page up top to get more info 🙂 Also, I’ve re-did my Business page layout and business cards! No more dark and purple (even thou those are some of my favorite colors) I’ve decided to do a cute, clean, simple design and this is what I’ve came up with …

I LOVE IT!!! I know this is a Keeper!!!! Now I can’t wait for my Labels to get here 🙂


Peace, Love and Happy Crocheting!!!!

Posted on 1 Comment

Crochet Cable Stitch Hat and Scarf Set (Pattern)


I was insiperd by the stitch I’ve found on lion brand: http://cache.lionbrand.com/faq/351.html?language=En

You’ll need:

Yarn (I use 1 ½ skein of 4ply yarn for my set)

Crochet Hook- J (6.0mm)

Scissors and a Tapestry needle

Stitches that you will need to know:

Chain- ch

Single Crochet –SC

Double Crochet-DC

Skip- sk

 Hat

Magic Circle

Round 1: Ch 3, 11 double crochet in the magic circle, join (total of 12)


Round 2: Ch 3, 1 dc in same stitch, 2 dc in each dc around,   join, (24 dc)

Round 3.  Ch 3, 2 dc in next dc, *1 dc in next dc, 2 dc in next dc,* Repeat * all the way around, join (36 dc)
Round 4: Ch 3, 1 dc in next dc, 2 dc in next dc, * 1 dc in each of next 2 dc, 2 dc in next dc,* *Repeat* all the way around, join (48 dc)

Round 5: Ch 3, 1 dc in the next 2 dc, 2 dc in next dc, * 1 dc in each of next 3 dc, 2 dc in next dc, *Repeat * All the way around, join (60 dc)

Round 6: Ch 3, work 1 dc in next 3 dc, work 2 dc in next dc, *work 1 dc in each of next 4 dc, work 2 dc in next dc,* *repeat* all the way around, join (72 dc)


This is the part when you will start the cable stitches

Always place a stitch marker at the beginning of each row from here on out

Round 7:  skip, 1 dc in the next 3 stitches, 1dc in the skip stich, *Skip, 1 dc in the next 3 stitches, 1dc in the skip stitch* Repeat all the way around, join (72)

Round 8: Chain 1, sc in the same stitch, sc all the way around (72) Join (don’t chain)

Round9:  skip, 1 dc in the next 3 stitches, 1dc in the skip stich, *Skip, 1 dc in the next 3 stitches, 1dc in the skip stitch* Repeat all the way around, join (72)

Round 10: Chain 1, sc in the same stitch, sc all the way around (72) Join (don’t chain)

Round 11: skip, 1 dc in the next 3 stitches, 1dc in the skip stich, *Skip, 1 dc in the next 3 stitches, 1dc in the skip stitch* Repeat all the way around, join (72)

Round 12: Chain 1, sc in the same stitch, sc all the way around (72) Join (don’t chain)

Round 13: skip, 1 dc in the next 3 stitches, 1dc in the skip stich, *Skip, 1 dc in the next 3 stitches, 1dc in the skip stitch* Repeat all the way around, join (72)

Round 14: Chain 1, sc in the same stitch, sc all the way around (72)

Round 15: Chain 1, sc in the same stitch, sc all the way around (72)

Draw up a tail, cut and weave all ends


Scarf

Here’s a tutorial on how to start the scarf or you can read the pattern instead 🙂


https://www.youtube.com/watch?v=U92n2TsNryI

Chain 23

Row 1: 1 single crochet in the second chain from the hook, sc in each stitch, (22)

Row 2: Ch 1, sc in the same stitch, skip, 1dc in the next 3 stitches, 1dc in the skip stitch, *skip, 1 dc in the next 3 stitches, 1dc in the skip stitch*, *Repeat until you have 5 cable stitches all together* You are left with two more stitches, skip, and sc in the last stitch, (22)

Row 3: Ch 1 single in the same stitch, sc in each stitch (22)

Row 4: Ch 1, sc in the same stitch, skip, 1dc in the next 3 stitches, 1 dc in the skip stitch, *, *skip, 1 dc in the next 3 stitches, 1dc in the skip stitch* *Repeat* 3 more times, skip, and sc in the last stitch

 Repeat Row 3-4 until you reach your desire length

When you are done with the length for you very last row sc in each stitch

Draw up a tail cut and weave all ends

Peace, Love and Happy Crocheting!

© Jessica N. King-Cason